Thursday, August 15, 2013
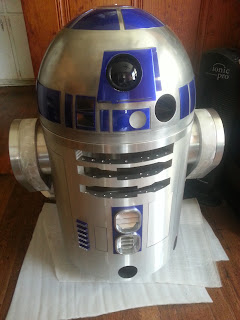
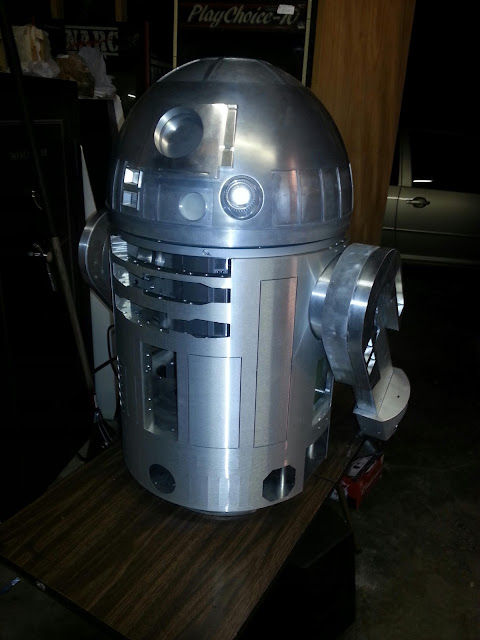
(08-14-2013) Dome panels cut
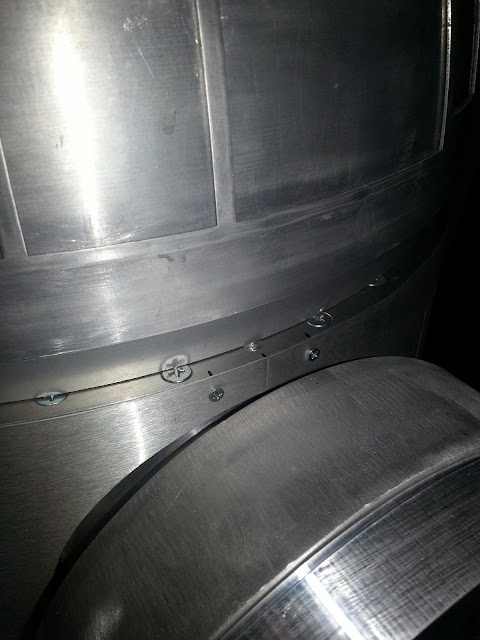
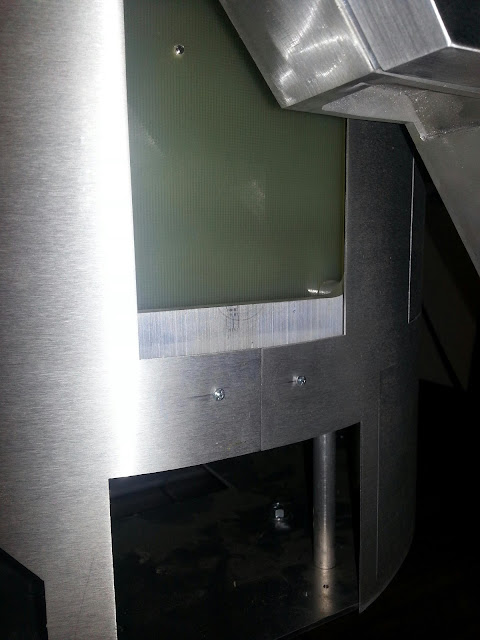
Last night, with the help of Jody, all of the top dome panels cut out on R2. I need to add hinges, cut out another hole on the side for access to release the wires inside the dome and drill holes for the dome bumps and then it will be final assembly and clean up of the dome. Can't wait for it finally to be a completed piece. Someday I'll add periscope and LFS lifters, but that will have to wait for now.
Tuesday, July 16, 2013
(07-16-2013) Status update
A few weeks back my brother wired up my 220v power outlet for the welder, plasma cutter and most importantly - the oven to cook the powder paint for all of R2's large parts. Unfortunately the stove's bottom stove burner instantly burnt out, and so I have ordered a replacement which should arrive soon.
The parts to complete R2 are down to just a few: battery boxes, foot strips and battery/side plates. The foot strips and side plates I could make, but if someone does a run I will probably order them.
All of the electronics are either on hand or on order, but the foot drives are still several months away from being ready to ship. The next step is to finalize the mounting of the dome drive motor and start testing the mouse interface for dome positioning. Hope to get that working and have a demo to show soon.
Tuesday, June 25, 2013
(06-25-2013) R2's radar eye
In other R2 news, the outer legs are almost complete, the center ankle arrived and soon he should be standing on his on 3 feet. It will still be a while before the foot drives are ready and then I will need motors, so don't expect him to be moving in the near future.
Saturday, June 15, 2013
(06-15-2013) More color tests
I powder coated a few pieces of R2 and placed them to see how the color looks. I'm very happy with the color, but not too happy with my paint skills. Too much dirt in the paint and it's hard to sand and remove the specs from powder paint.
I also did some tests on some old aluminum go kart wheels. The copper looking wheel is painted with transparent orange, and the grey is painted smoke chrome. Both of these colors are from Eastwood.
Friday, May 31, 2013
(05-31-2013) The Bentley Blues
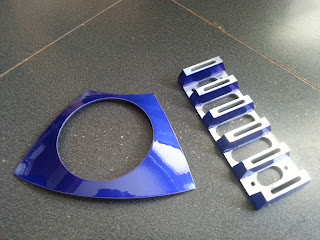
Today I powder coated the ankle details, coin slots and a pie panel in Bentley blue. I really like the color, and it seems very true to R2 blue to me. I hope to get more painting done soon, but ever since I hurt my back even doing the smallest of things is a huge challenge. Still, it was great to finally get out and do anything other than just sit and wait for the doctors.
Sunday, April 28, 2013
Wednesday, April 3, 2013
Sunday, March 17, 2013
(03-15-2013) More work on dome positioning
I finally got around to mounting the pittman motor to the frame and giving it a test. It's quite loud if you apply constant pressure to the gears. I'm currently using a spring and it makes the gears very noisy. If I mount the motor solid and keep the gears at the proper positions to each other the gears become very quiet. So I see a custom mount in my near future, maybe something similar to toothboy's mount he made out of a door hinge.
I plan on using the mouse's optical wheel to count the movement of the dome motor. To do this, the first thing I had to do was trim off the spindles that held it in the mouse. As you can see in the picture below I used a razor saw to trim off the unwanted pieces.
Next I drilled a hole in the center (okay, okay, it's not even close to the center - but it's just for testing). I'm ready to start placing everything into the frame. There is a bit of work to do on the mouse - mounting a mouse button switch to tell the Arduino when the dome is front and cutting off part of the PC board with the phototransistor and IR LED that I can mount next to the dome motor.
And finally I did some testing to see how this optical sensor worked and it's a bit disappointing. The speed of the dome motor is so fast that maxes out the optical sensing on the arduino. The range is -127 to 127, and when the dome is full speed it at full -127 or 127 depending on which way it's going. Next step is to find a different optical wheel with fewer teeth to get a slower reading.
I also mounted the dome motor to the frame and wired it up temporarily. What a great rush to see R2's dome moving and making sounds!
Sunday, March 10, 2013
(03-10-2013) Mouse work conitnues
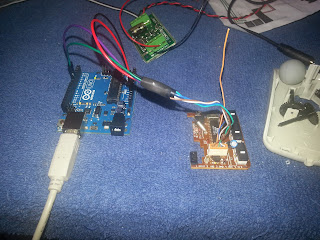
Got the latest code from Dan and have integrated the PS/2 mouse code into it. Created a wiring diagram so that hopefully anyone can grab a PS/2 mouse and use it for dome positioning on their own R2 without too much expense or trouble.
Originally I thought I could use the teeth of the A&A gear set to trigger the optical sensors, but the gap appears to be too wide. When using the gear set I only get the X axis to increment, but it won't decrement, but if I use the wheel included with the mouse it works fine.
Originally I thought I could use the teeth of the A&A gear set to trigger the optical sensors, but the gap appears to be too wide. When using the gear set I only get the X axis to increment, but it won't decrement, but if I use the wheel included with the mouse it works fine.
Saturday, March 9, 2013
(03-09-2013) PS/2 Mouse interface for Dome positioning
Okay, so getting the dome motor running was a good step, but now I wanted to use an optical sensor to keep the position of my dome. That way we can auto-center the dome or animate the dome if that is something we would like to do. I tore apart an old PS/2 mouse and wired up the 5vDC, ground, clock and data wires - then I used this code and was able to get input from the mouse (X and Y - no mouse buttons). Next part will be to integrate this into the Padawan code and get a switch to work for knowing where dome center is located.
(03-09-2013) And now dome motor control!
I had previously wired up my Syren 10A into the mix, but I had released the magic smoke playing with it previously and it wouldn't work. Yesterday (03-08-2013) the new Syren 10A arrived and I was able to just wire it into place, set the dip switches (switch 1 off, all others on) and it works great now. I also added in a ground loop isolator to keep the MP3Trigger from being fried by the powering up of the amp (seems to be a common problem).
Thursday, February 28, 2013
(02-28-2013) Sound!
It's a rough setup, but with Brandon's help I got it working. Sound for R2 is working, as are the controls with the PS2. Just need to wire up the motor controllers and make sure all of that works as well.
Wednesday, February 27, 2013
(02-27-2013) New Data Port in Aluminum
Got a new data port from Paul today and I had to put it together and give it a look. Pretty sweet - can't wait to get it installed in the frame (if I can figure out how to mount it).
Thursday, January 31, 2013
(01-31-2013) R2's status
It's been far too long since I gave given a status update on ol' R2. The list of items needed to complete R2 has grown short. The known display items needed to finish the build are: center and outer ankles, foot strips, horseshoes, booster covers, utility arms and battery boxes - that's it. Internally, he still needs foot motors, foot drive assemblies and center foot casters. I think I have enough electronics to make him work, if I ever get back to working on them to make sure it all works.
Subscribe to:
Posts (Atom)
